Table of Contents

Manage SharePoint Calendars

Logging In

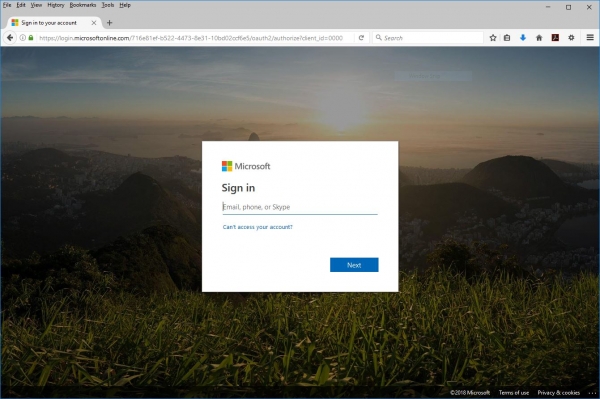
1 Go to https://cphapps.temple.edu/conferencerooms
2 Enter full accessnet@temple.edu address
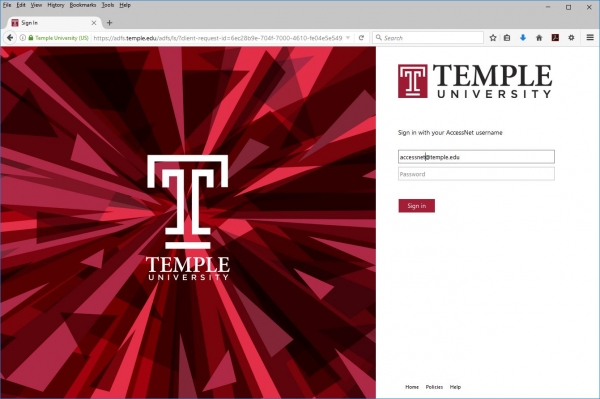
3 Enter full accessnet@temple.edu address and your Temple password
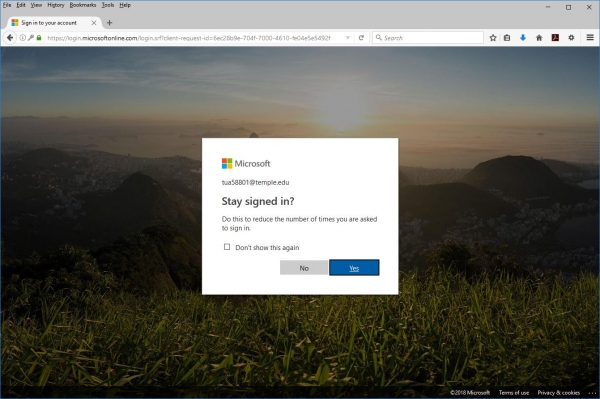
4 Selecting Yes will make future logins simpler.

If you are on a shared computer, you should select No.

Selecting Calendar

1 Once you log in, you will be taken to the Conference Room home page. Please select your building from either the top menu or the side menu.
2 Once the department is selected, you will be taken to the page listing that department's calendars. This page will show each calendar, a link to the calendar, upcoming events, and room information.
3 Select your desired calendar from the links on the left or from the title on the page.

Change View

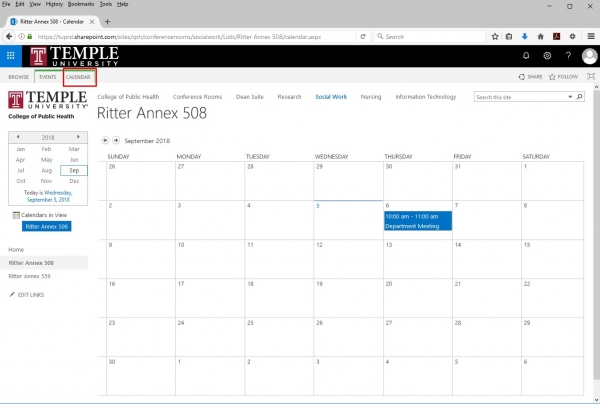
1 Select the CALENDAR tab
2 Select your view

Create and View Event

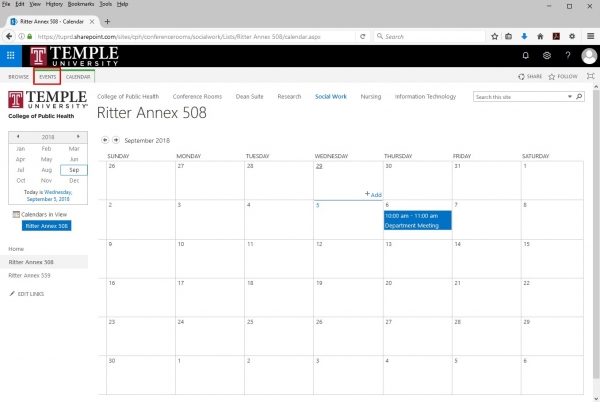
1 Click on EVENTS tab
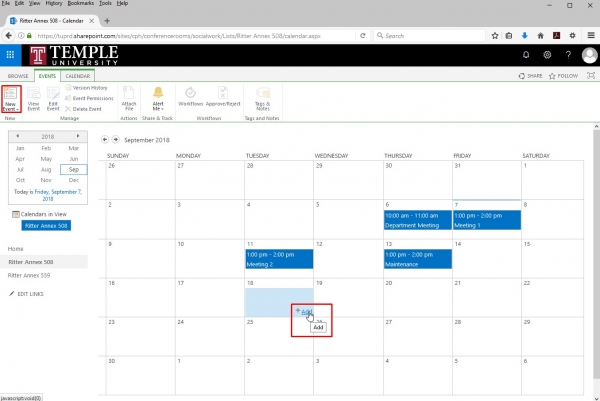
2 There are two ways to create an Event

*You can click on Event from the toolbar

*You can select the day by clicking on the square and then selecting Add.
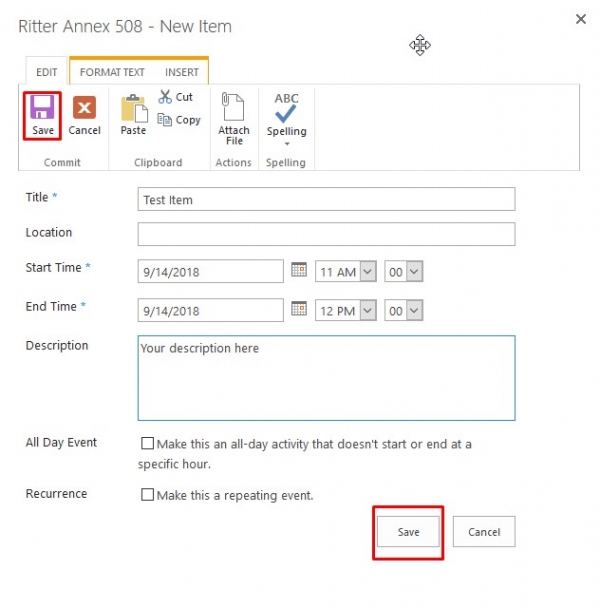
3 Enter event details. Click Save from the menu bar or the button.
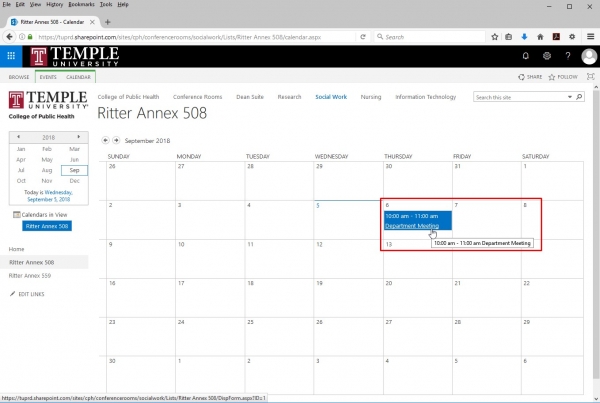
4 You can view the event by clicking on the events name in the calendar view.
5 When you click on the event name, you will see the event information. This includes who created the event and when it was created as well as who and when it was last modified.

Connect to Outlook (Windows Users)

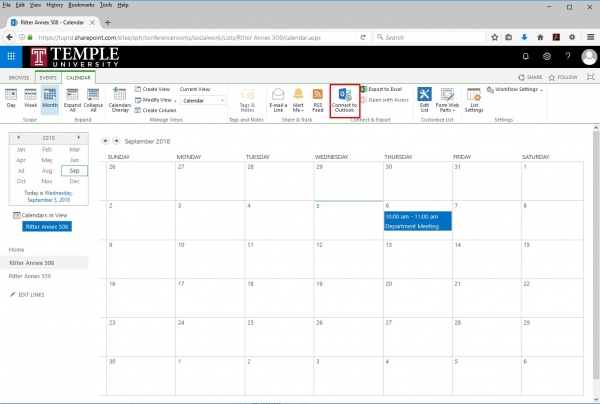
1 Under the CALENDAR tab, select Connect to Outlook
2 Make sure Outlook 2016 is selected and click Open link. It is recommended to select the checkbox for Remember my choice for stssync links. in case you need to open other calendars in the future.
3 If Outlook 2016 is not already open, it will now open. Click Yes.
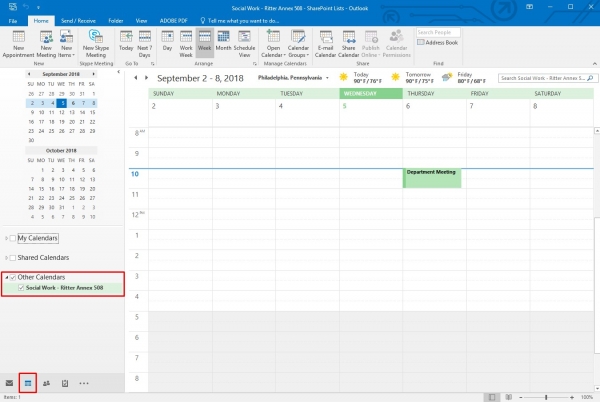
4 Browse to your Outlook calendar to see the newly added calendar.