Table of Contents
How to Use NAPS2 (Not Another PDF Scanner 2)
NAPS2 is a simple yet powerful scanning tool designed for ease of use. By following these steps, you can efficiently scan, edit, and save documents in just a few clicks.
1. Downloading and Installing NAPS2
- Visit the official NAPS2 website.
- Download the appropriate version for your operating system (Windows, Mac, or Linux).
- Open the downloaded file and follow the on-screen installation instructions.
2. Setting Up a Scanner Profile
Click on images for a closer view.
| 1. Open NAPS2. | 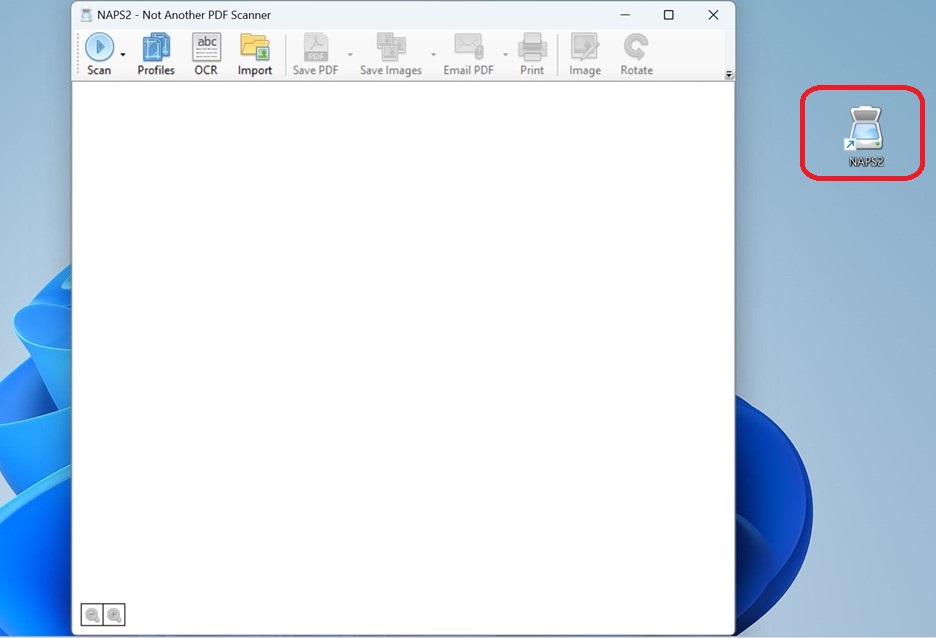 |
| 2. Click on Profiles in the toolbar. | 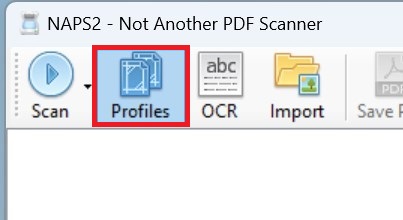 |
| 3. Click New to create a scanner profile. | 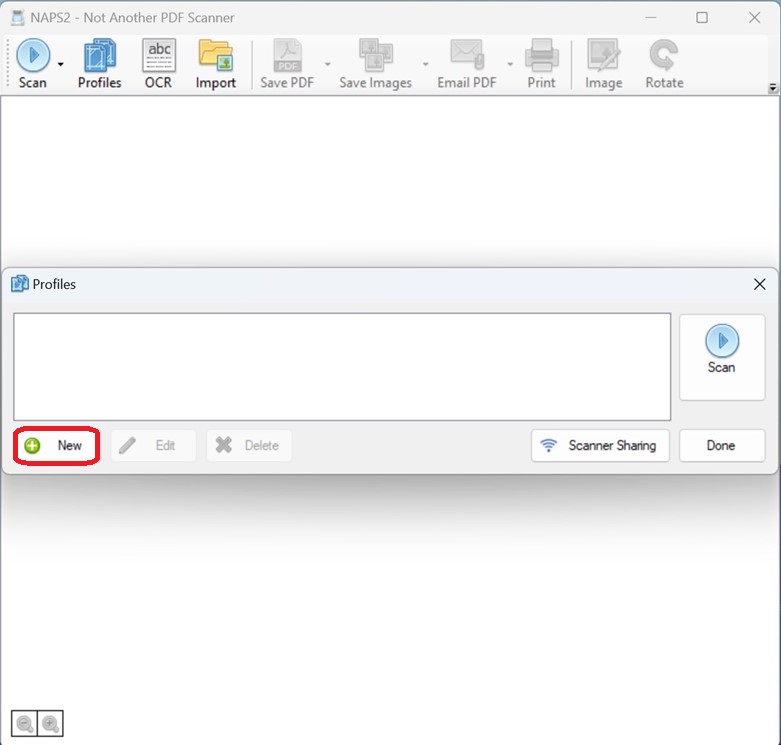 |
| 4. The Profile Settings window will open. | 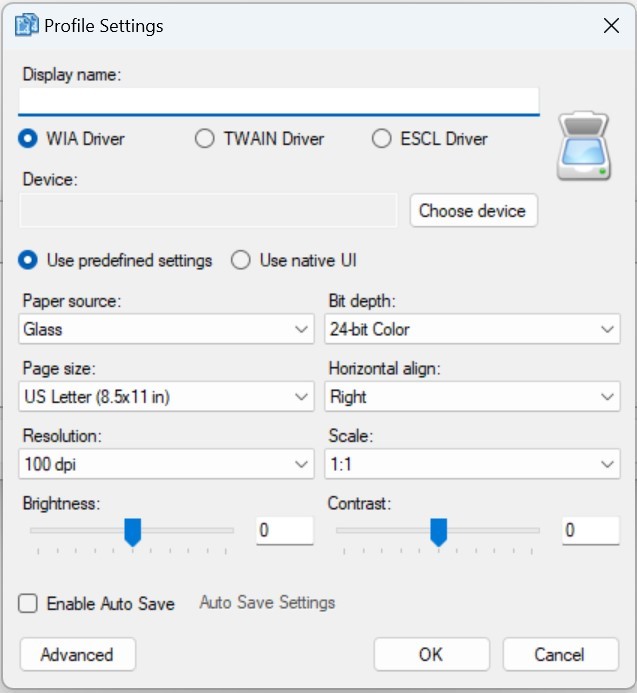 |
| 5. In the Display Name field, enter a recognizable name for your scanner. | 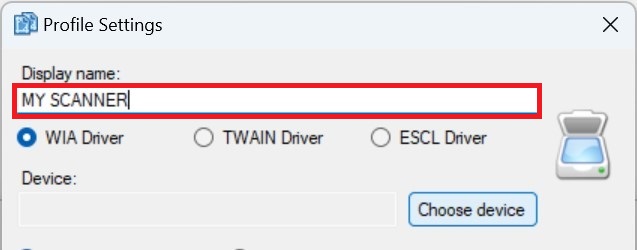 |
| 6. Click Choose Device. | 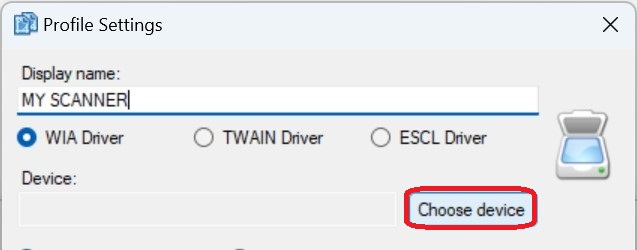 |
| 7. Select your scanner from the list. Once selected, the scanner will be highlighted. Click OK to close the window. |  |
| 8. Adjust scan settings such as DPI (resolution), color mode (black & white, grayscale, color), and paper size. | 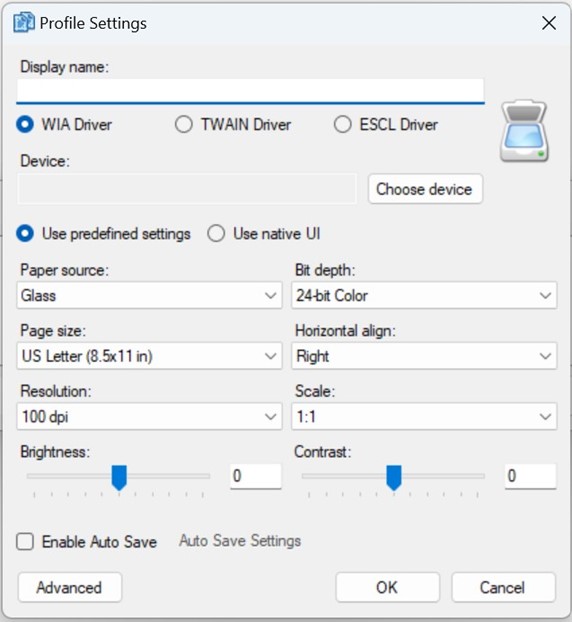 |
| 9. Set Paper Source to Duplex. | 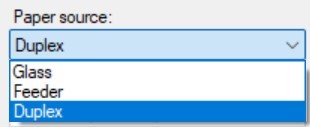 |
| 10. Set Bit Depth to Black and White. | 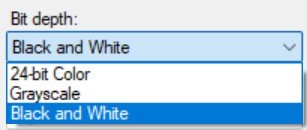 |
| 11. Set Horizontal Align to Center. | 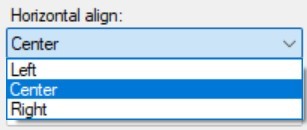 |
| 12. Set Resolution to 300. | 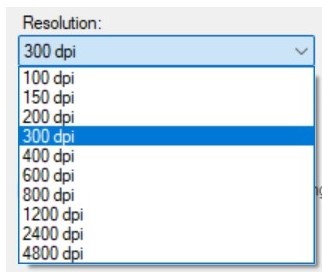 |
| 13. Click Advanced to open Advanced Profile Settings. | 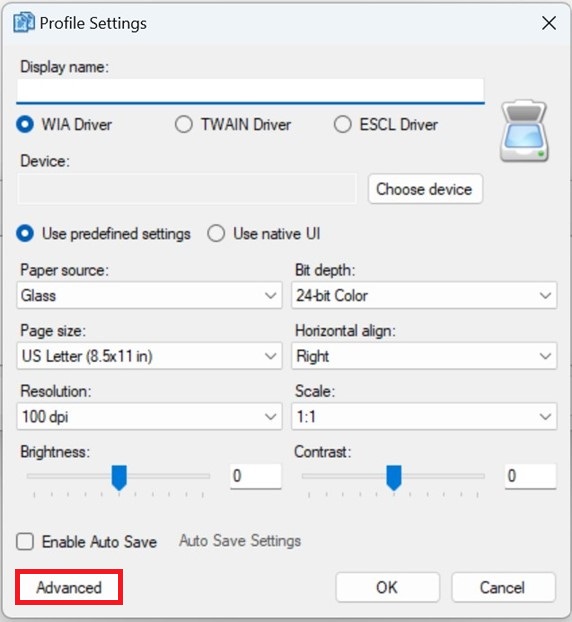 |
| 14. Here you can set the scanner to delete blank pages and adjust the orientation of the pages automatically using the following settings: Check Exclude blank pages. Set “Coverage Threshold” to 15. Check Deskew scanned pages. Check Apply brightness/contrast after scan. Then click OK to close the Advanced Profile Settings. |  |
| 15. Click OK to close the Profile Settings window. Now that the profile has been created, take a stack of papers and load them into the top of the scanner. Make sure you are collating the papers so that the edges are aligned. The cleaner the stack the better the scan. | 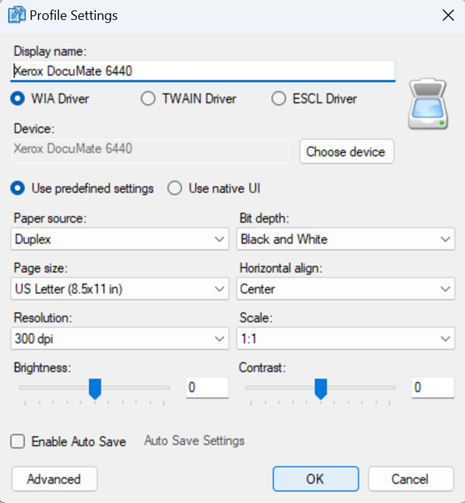 |
3. Scanning a Document
- Ensure your scanner is powered on and connected to your computer.
- Place the document in the automatic document feeder (ADF) at the top of the scanner.
- Click Scan in the NAPS2 main window, unless you have another scanning profile then:
- Click the arrow next to "Scan" in the NAPS2 main window.
- Select your scanner profile from the list, scanning will begin.
- The scanned document will appear in the NAPS2 window.
4. Editing and Arranging Scanned Pages
- After scanning, select a page to edit by clicking on it.
- Use the toolbar options to:
- Rotate the page.
- Crop to remove unwanted areas.
- Adjust Brightness/Contrast for better visibility.
- Drag and drop pages to rearrange their order.
5. Saving or Exporting the Scanned Document
- Click Save PDF or Save Image in the toolbar.
- Choose a file format (PDF, TIFF, JPEG, PNG).
- Select a destination folder and enter a file name.
- Click Save to complete the process.
Additional Features
- Optical Character Recognition (OCR): Click OCR to enable text recognition for searchable PDFs.
- Email or Print: Use the Send option to email the scanned document directly or print it.
- Batch Scanning: Scan multiple pages at once using the Automatic Document Feeder (ADF).
Tips and Tricks
- CTRL + A allows the user to select all images. With this you can flip all images at the same time or change all images to black and white from color.
- If you see lines on images, try using a microfiber cloth and wipe the inside of the scanner.
- Do a review of the images for possible post-its stuck to a page, overlapping key information.