
Schedule & Use Zoom Meetings from Inside a Canvas Course
Personal rooms are not recommended for online courses. Please follow the steps below to schedule recurring online course sessions through Canvas.
Check that Zoom is Available on the Left Side of Your Course Menu
Note: If you already see Zoom on the left side, skip to: Schedule Secure Course Meetings
- Click on Settings
- Click on Navigation
- Locate Zoom from the list. Click on the three dots and click Enable
- Scroll down and click Save
Schedule Secure Course Meetings
Click on Zoom on left-side course navigation menu in your Canvas course
- Click on Schedule a New Meeting
- Fill out the meeting settings
- If this is a recurring meeting, click on Recurring Meeting and enter recurrence frequency information.
- Scroll down to check that the box next to Enable Waiting Room is selected
- Click Save
By default, the waiting room is configured so users, who are not logged in through their Temple account, will be placed in the waiting room, and they will not be admitted into your meeting until you admit them, if you choose. So, if you have a guest speaker, who is from outside of Temple University, they will be placed into the waiting room and you can allow them to enter the meeting.
Start a Meeting
- Click the Zoom link on the left-side Canvas menu
- Click the Start button to launch a scheduled meeting
The Security button in Zoom enables easy access to control access to features during your meeting. Click on Security in the meeting control bar to do any of the following:
- Enable Waiting Room
- Chose whether to allow participants to share screen, chat, unmute, and/or rename themselves
- Remove Participant
- Lock the meeting
Delete a Scheduled Meeting
Only the meeting creator can delete a meeting that has been created using the Zoom for Canvas tool. To delete a meeting:
- On the Upcoming Meeting list, click Delete next to the meeting to be deleted.
- Click OK in the pop-up dialog to confirm that the meeting is to be deleted.
The event is removed from the Canvas calendar, and a new conversation notifies course members that the meeting has been deleted.
Record Your Meeting to the Cloud
Start a Recording
After you have started your meeting, click on the Record button along the bottom of the Zoom window and select Record to the Cloud, as shown below. For a video demonstration, view How to record with Zoom
Pause a Recording
To pause a Zoom recording, hover over the bottom of the Zoom window and click on Pause:
To pause a recording when screen-sharing, hover your cursor in the middle of the top of the screen. Then click on More and click Pause Recording.
Stop a Recording
To stop a Zoom recording, hover over the bottom of the Zoom window and click on Stop Recording:
Accessing Recordings
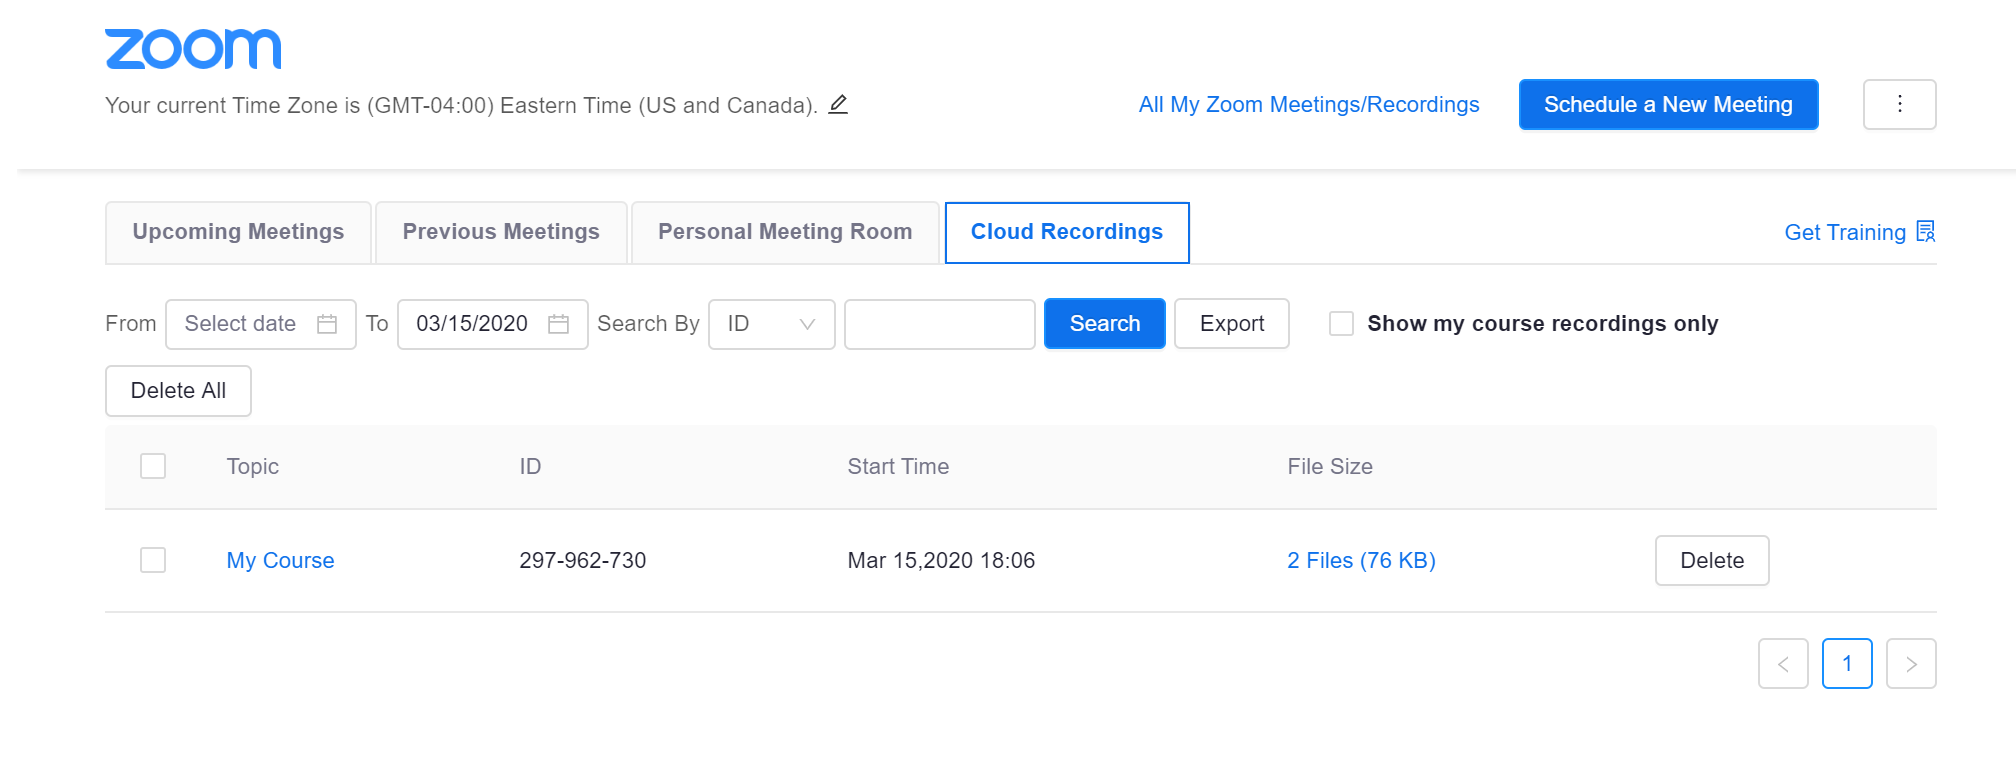
Display Recordings
Click the Cloud Recordings tab to see the list of meetings that you recorded. If the recording is not ready, it will show a status of “processing”. When the recording is ready, you can play, share, or download the recording.
Share a Recording
- Click a meeting topic to see the recordings files available for the meeting; each meeting has multiple recordings, including a combined Audio/Video file and an Audio Only file
- Click the Share link below the file you want to share

Click the Copy button to copy the recording links to the clipboard; this lets you share the copied links with anyone you choose
Download a Recording
- Click the Cloud Recordings tab to see the list of meetings that you recorded
- Click the Download link below a file to download that file to the computer you are currently using
Play a Recording
- Click the Cloud Recordings tab to see the list of meetings that you recorded
- Click on the icon of the recording to begin playing it in a new window

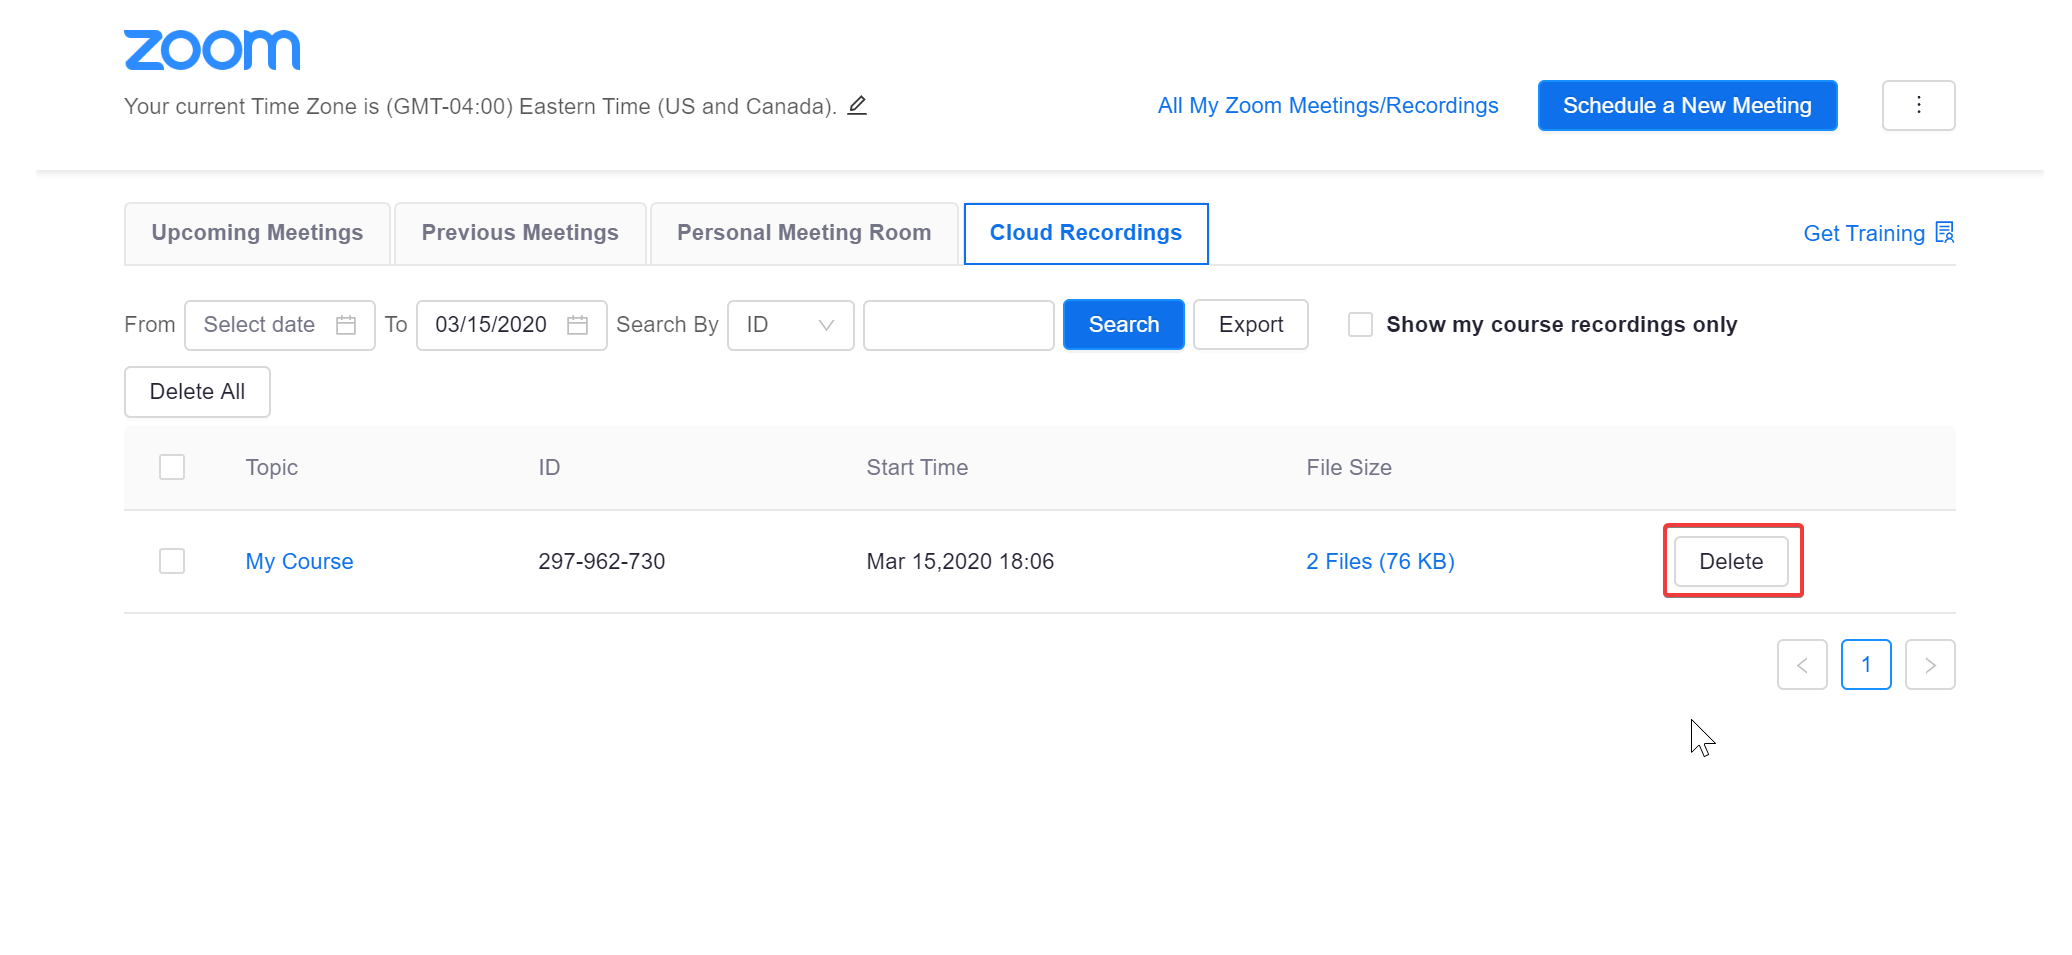
Delete a Recording or Recover a Deleted Recording
When you delete a recording, Zoom moves the recording to the Trash.
- To delete all recordings associated with a particular meeting, click Delete on the Cloud Recordings page
- To delete a single recording, click a meeting topic to open the Recording Details page of that meeting, then click Delete
To recover recording(s) that in the Trash
- Click the Trash link
- Click the Recover link for that recording
Recordings in the Trash are saved for 30 days. To permanently delete the recordings in the trash, click Empty Trash.
Remember to Post Recording Reminders to your Class
At the start of each live Zoom session that you are recording, it is important to remind students that you are recording the class in order for them to review later or for classmates, who can not attend class, to view. Please add the following language to your Canvas page and remind students at the beginning of each recorded sessions:
"In an effort to provide equitable access to all students in this class, I will be recording this class session. If anyone has a concern, please feel free to let me know. If at any point during the session, you would like me to pause the recording, please let me know and I am happy to pause the recording."
For more information about Zoom, take a look at our Web Conferencing page