How to Use NAPS2 (Not Another PDF Scanner 2)
NAPS2 is a simple yet powerful scanning tool designed for ease of use. By following these steps, you can efficiently scan, edit, and save documents in just a few clicks.
1. Downloading and Installing NAPS2
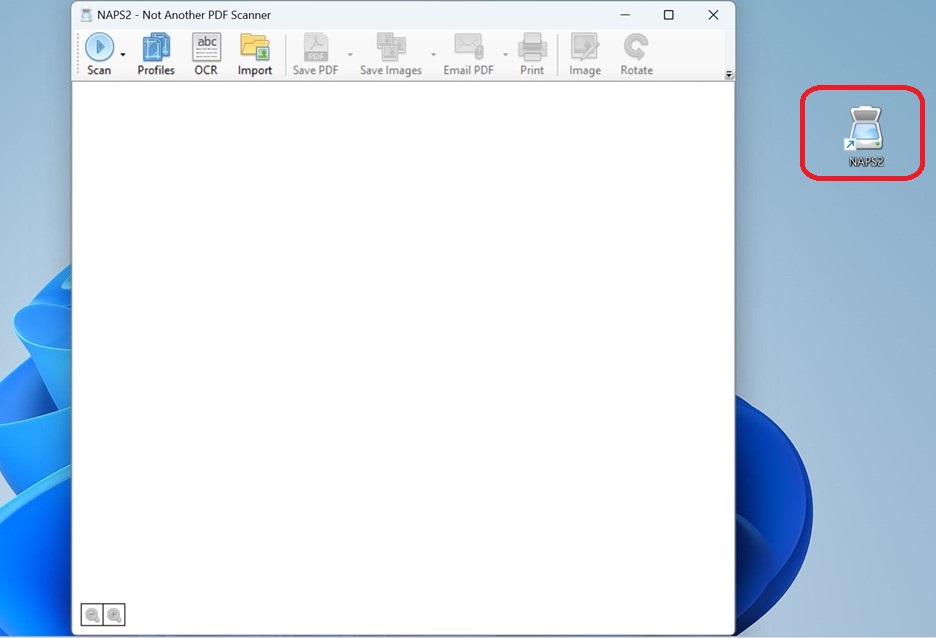
- Visit the official NAPS2 website.
- Download the appropriate version for your operating system (Windows, Mac, or Linux).
- Open the downloaded file and follow the on-screen installation instructions.
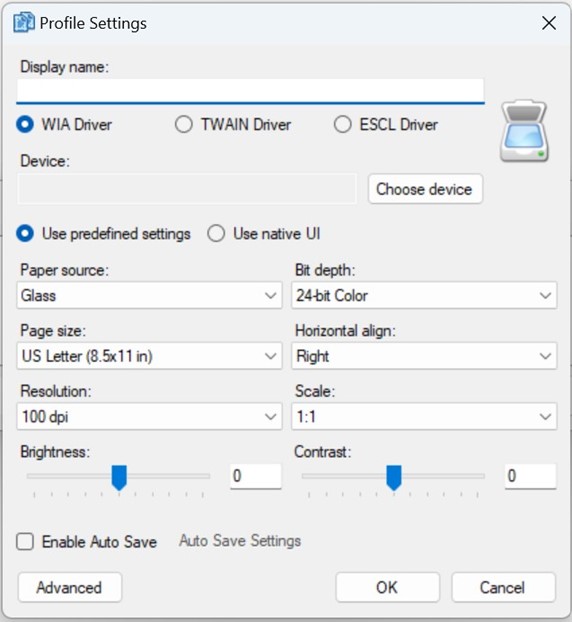
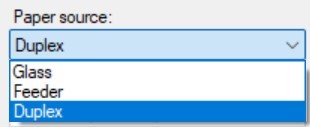
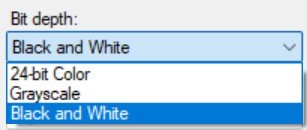
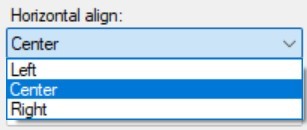
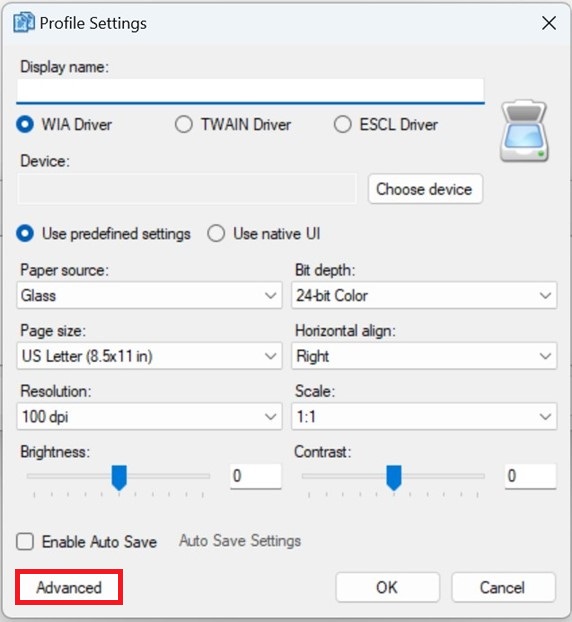
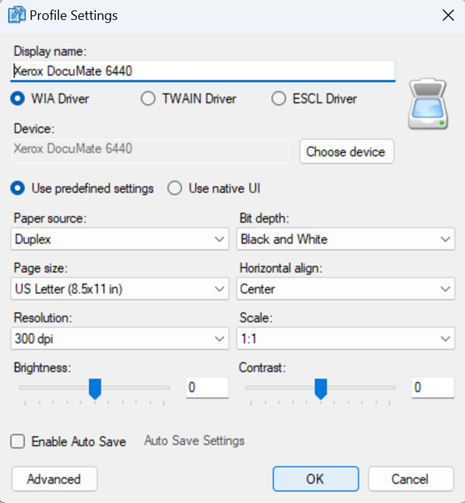
2. Setting Up a Scanner Profile
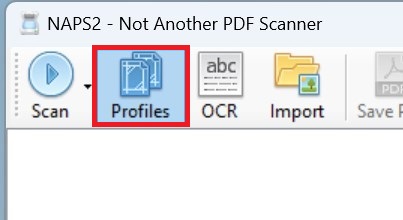
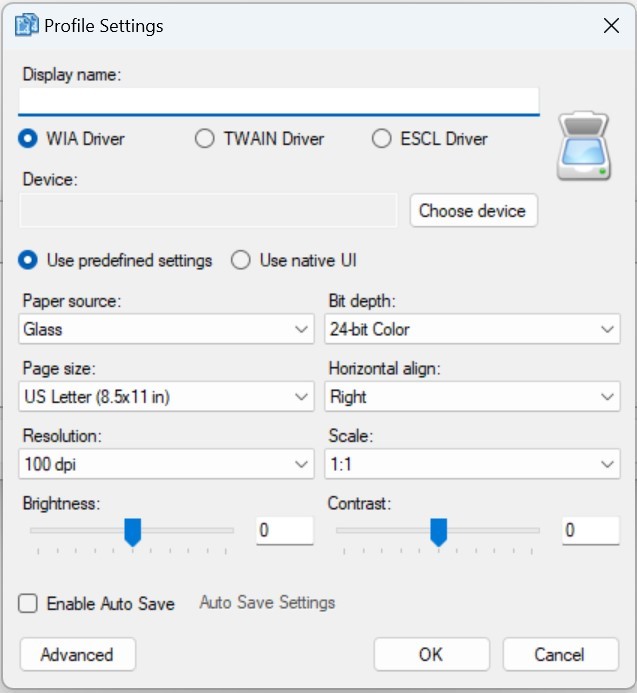
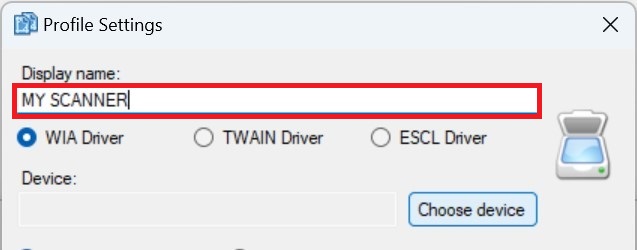
Click on images for a closer view.
3. Scanning a Document
- Ensure your scanner is powered on and connected to your computer.
- Place the document in the automatic document feeder (ADF) at the top of the scanner.
- Click Scan in the NAPS2 main window, unless you have another scanning profile then:
- Click the arrow next to "Scan" in the NAPS2 main window.
- Select your scanner profile from the list, scanning will begin.
- The scanned document will appear in the NAPS2 window.
4. Editing and Arranging Scanned Pages
- After scanning, select a page to edit by clicking on it.
- Use the toolbar options to:
- Rotate the page.
- Crop to remove unwanted areas.
- Adjust Brightness/Contrast for better visibility.
- Drag and drop pages to rearrange their order.
5. Saving or Exporting the Scanned Document
- Click Save PDF or Save Image in the toolbar.
- Choose a file format (PDF, TIFF, JPEG, PNG).
- Select a destination folder and enter a file name.
- Click Save to complete the process.
Additional Features
- Optical Character Recognition (OCR): Click OCR to enable text recognition for searchable PDFs.
- Email or Print: Use the Send option to email the scanned document directly or print it.
- Batch Scanning: Scan multiple pages at once using the Automatic Document Feeder (ADF).
Tips and Tricks
- CTRL + A allows the user to select all images. With this you can flip all images at the same time or change all images to black and white from color.
- If you see lines on images, try using a microfiber cloth and wipe the inside of the scanner.
- Do a review of the images for possible post-its stuck to a page, overlapping key information.

